When we purchased this house, the porches were still in their original construction state. The wood had never been treated or painted. As much as we both love the look of natural wood, it didn’t really coordinate with the look and feel of the house. You can read more about how we prepared the porch wood and stained it in the first installment of this series.

Now that we’ve finished taking care of the posts, skirt and deck, it’s time to install the screen. We had several quotes for having a subcontractor come in and do this job. I was really surprised at how much the cost was. For our porch the prices ranged from $600 to slightly over $1000. Materials probably cost us about $200, if that. Installation really isn’t difficult, but it is a bit time-consuming. As with any project of this nature, the first section is always the hardest and most time-consuming, but by the time you get to the end you’ve worked out all the kinks and are ready to screen the whole neighborhood. One person could do it, but it would be a lot easier with a couple of extra hands.
We decided to use the Screen Tight system, which is available at both Lowe’s and Home Depot.
Supplies List …
Screen Tight 1.5 in. (or 3.5 in.) Porch Screening System Base Strip (brown in the picture below)
Screen Tight 1.5 in. (or 3.5 in.) Porch Screening System Cap (white in the picture below)
Screen Tight 1/8-in Screen Spline
Screen Tight Professional Roller Knife
Teks #8 Roofing Screws
Screen (see notes below for how to determine the width needed)
Scissors
Rubber mallet

Calculating Materials Needed …
The base strips and caps come in 8 foot long pieces. You’ll need to measure your top, bottom, and vertical sections to determine how many pieces you’ll need.

For example, in the graphic above you’ll note that one side of our pretend porch is 8 ft. wide and 8 ft. tall. So you would need five 8-ft. base strips and five 8-ft. caps for this section. Make sense?
Screen wire comes in various widths from 36″ on up to 96″ and lengths of 25 ft to 100 ft. It’s also available in fiberglass, aluminum, and copper. We chose fiberglass in charcoal. Measure the width of each of your sections to determine which size roll of screen you’ll need. I recommend you get your screen at least 8 – 10″ wider than the space you are covering so that you have something to grab onto when rolling in the sides.
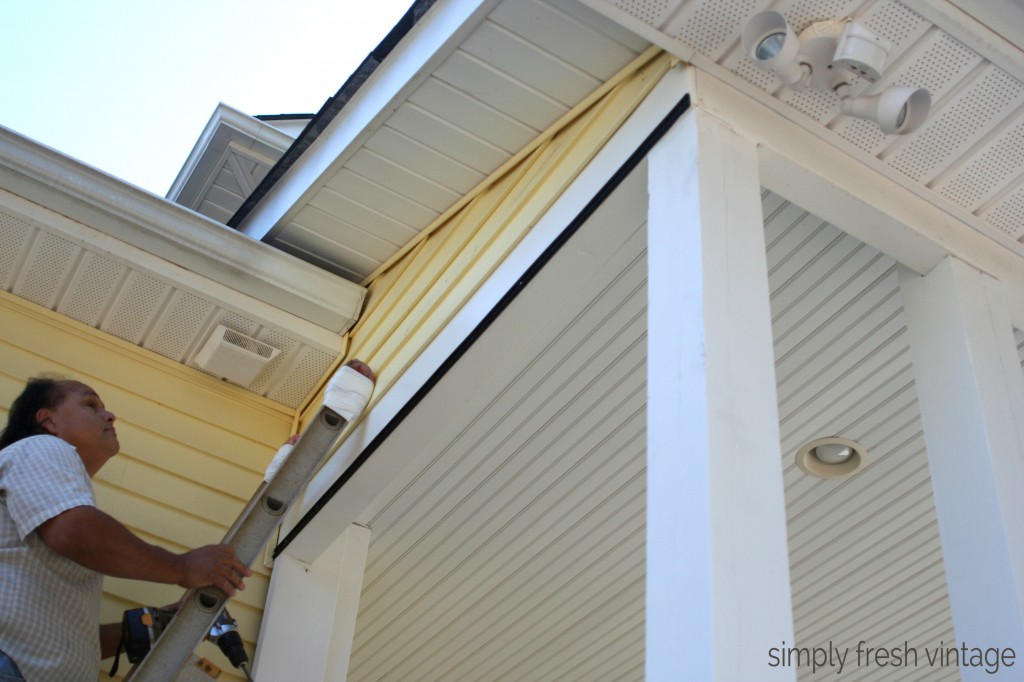
Step One – Installing the base strips
The first part of the installation is securing the base strips to the wood. We started with the bottom, then did the top, then the sides and verticals. There are slots in the strip where the screws go. Fill every single hole … leave no hole behind! We used 1″ wood screws. You want the screws to be tight, but not so tight that the base strip starts to get a wave or bends.

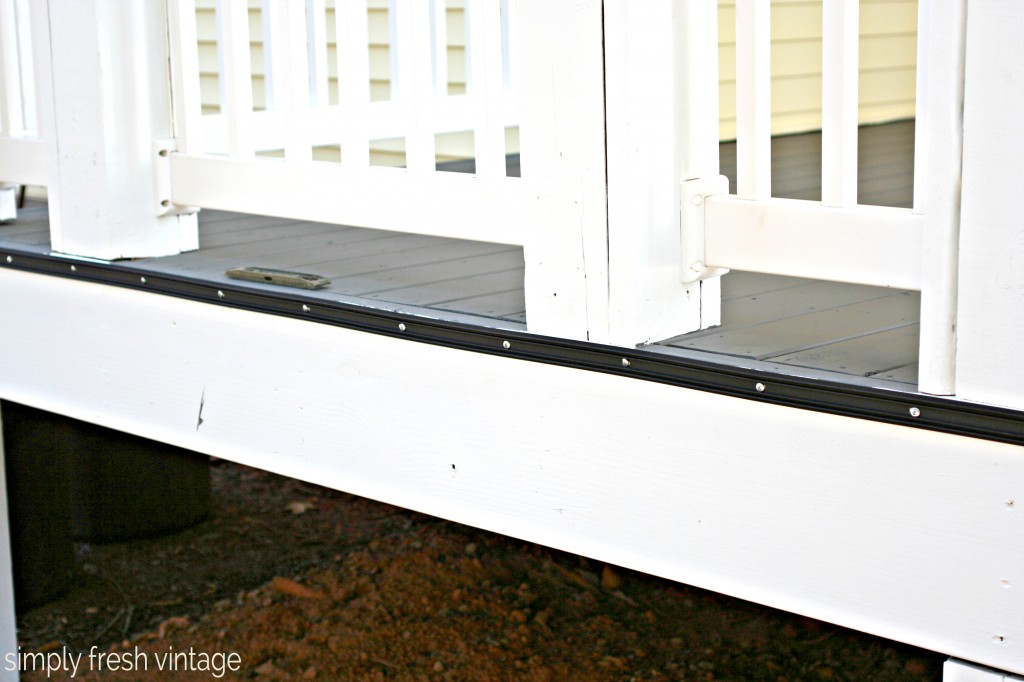

The strips butt right up next to each other.


We gave the edges of the base strips a quick run over with leftover white paint because we weren’t sure if the brown would be visible after all was said and done.
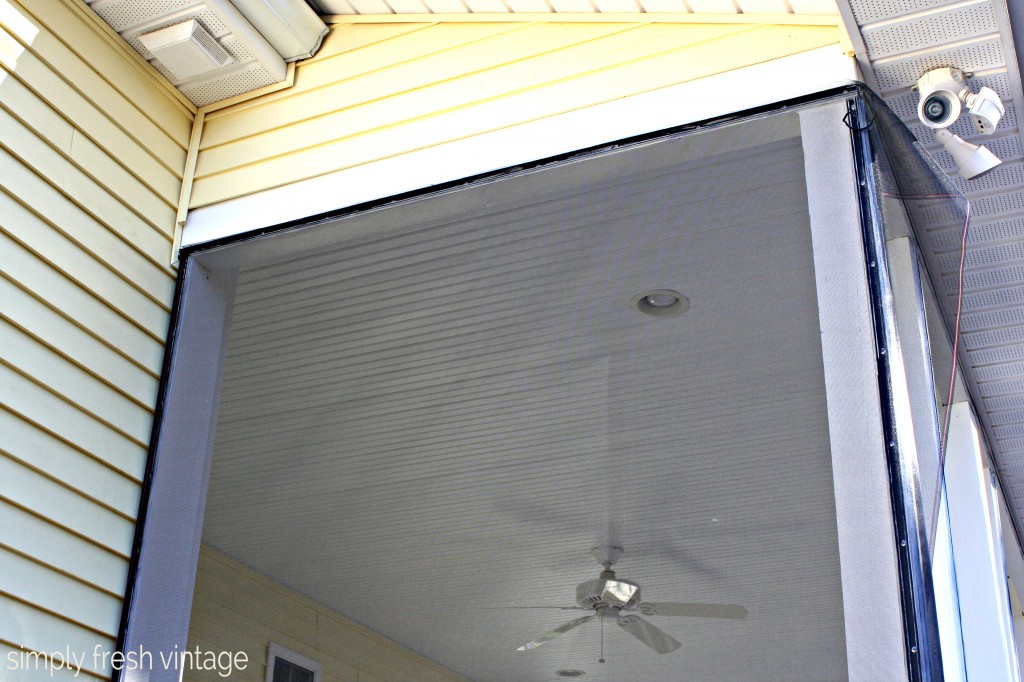
Step Two – Attaching the screen
This is the fun part! Keep in mind that this part is going to be a bit awkward at first, and perhaps a bit frustrating, but once you get going and get the feel for it, it will speed up and get easier.
We’re going to start at the top and work our way down, fully completing each screened section before starting the next.

This is where the extra hands come in handy. Have one person hold the screen up so that it overlaps the base strip by a couple of inches. The other person inserts the spline into the groove with the spline roller.

At the beginning of a section, you’ll want to use the roller to “punch in” the end of the spline. Once it’s in, begin rolling the roller, while pulling TIGHT on the spline. STRETCH THE SPLINE! The harder you stretch it, the easier it is to roll in. Trust me on this! The person holding the screen needs to also make sure that the screen stays fairly even and taut. Continue rolling all the way across the top. When you get to the end, cut off the spline and make sure that the end is completely pushed into the groove.
Which “groove” do you use? The lower groove for the top, the upper groove for the bottom, the “in” groove for the sides. In other words, always use the groove closest to the section you are screening.
Continue working down the left side, and then the right. Stretch and roll the spline, and keep the screen taut. If your screen looks a little bit out of sorts at this point, have no fear. It will all be okay once you do the bottom.

Once the sides are done, repeat for the bottom. I don’t know what it is, but this is where the magic happens. When rolling in the spline on the bottom, pull down a bit on the screen to create a bit of tension. If your screen looked a bit wonky and ripply after you finished the top and sides, when you finish off the bottom, all will be well with the screen world again!
Congratulations! You’ve finished your first screened section! Trim away the excess screen. We trimmed to about 1/4″ from the spline. At the corners, just cut as close as you can so that there isn’t a lot of extra screen to tuck into the cap.

Continue this process until the entire porch is screened.
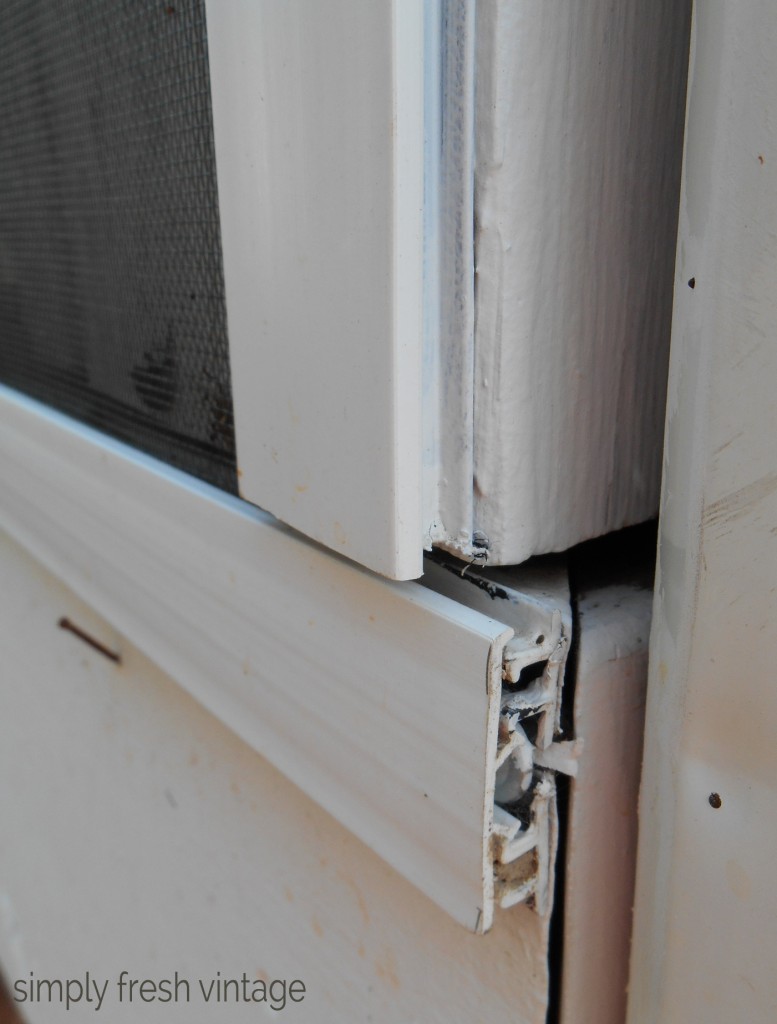
Step Three – Attaching the cap
Now it’s time to add the finishing touch. The cap snaps into the base, but you’ll need a mallet for a good fit. Start at one end and gently tap the cap onto the base working in the opposite direction. You don’t want to leave big gaps when you’re tapping, instead you want to tap all the way across (down) the strip. Again, top first, bottom second, then the verticals.


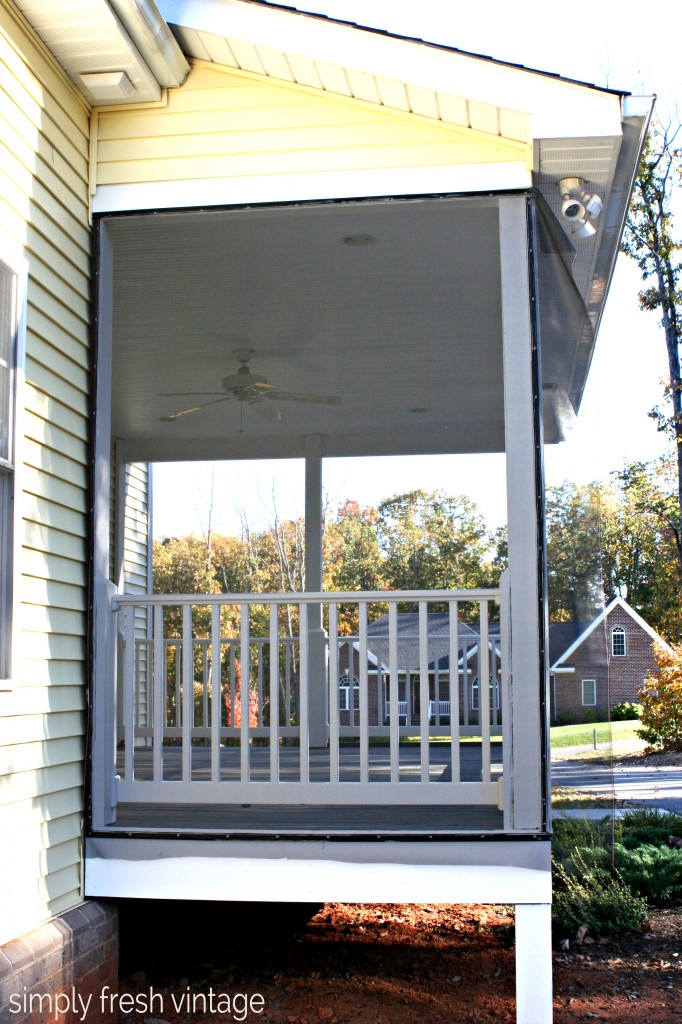
Whoo hoo! You did it! You now have a beautifully screened in porch. We did this over one weekend. Saturday morning we purchased all of the materials, installed the base strips, and completed one section. On Sunday we started back up after church and finished off the rest of the sections and added the cap.


As it turns out for us, we were not quite done yet. We started using the porch, but lo and behold those southern critters were still able to invade our space. The third installment in our Porch Makeover shows how you can excavate all non-human living critters for good!