
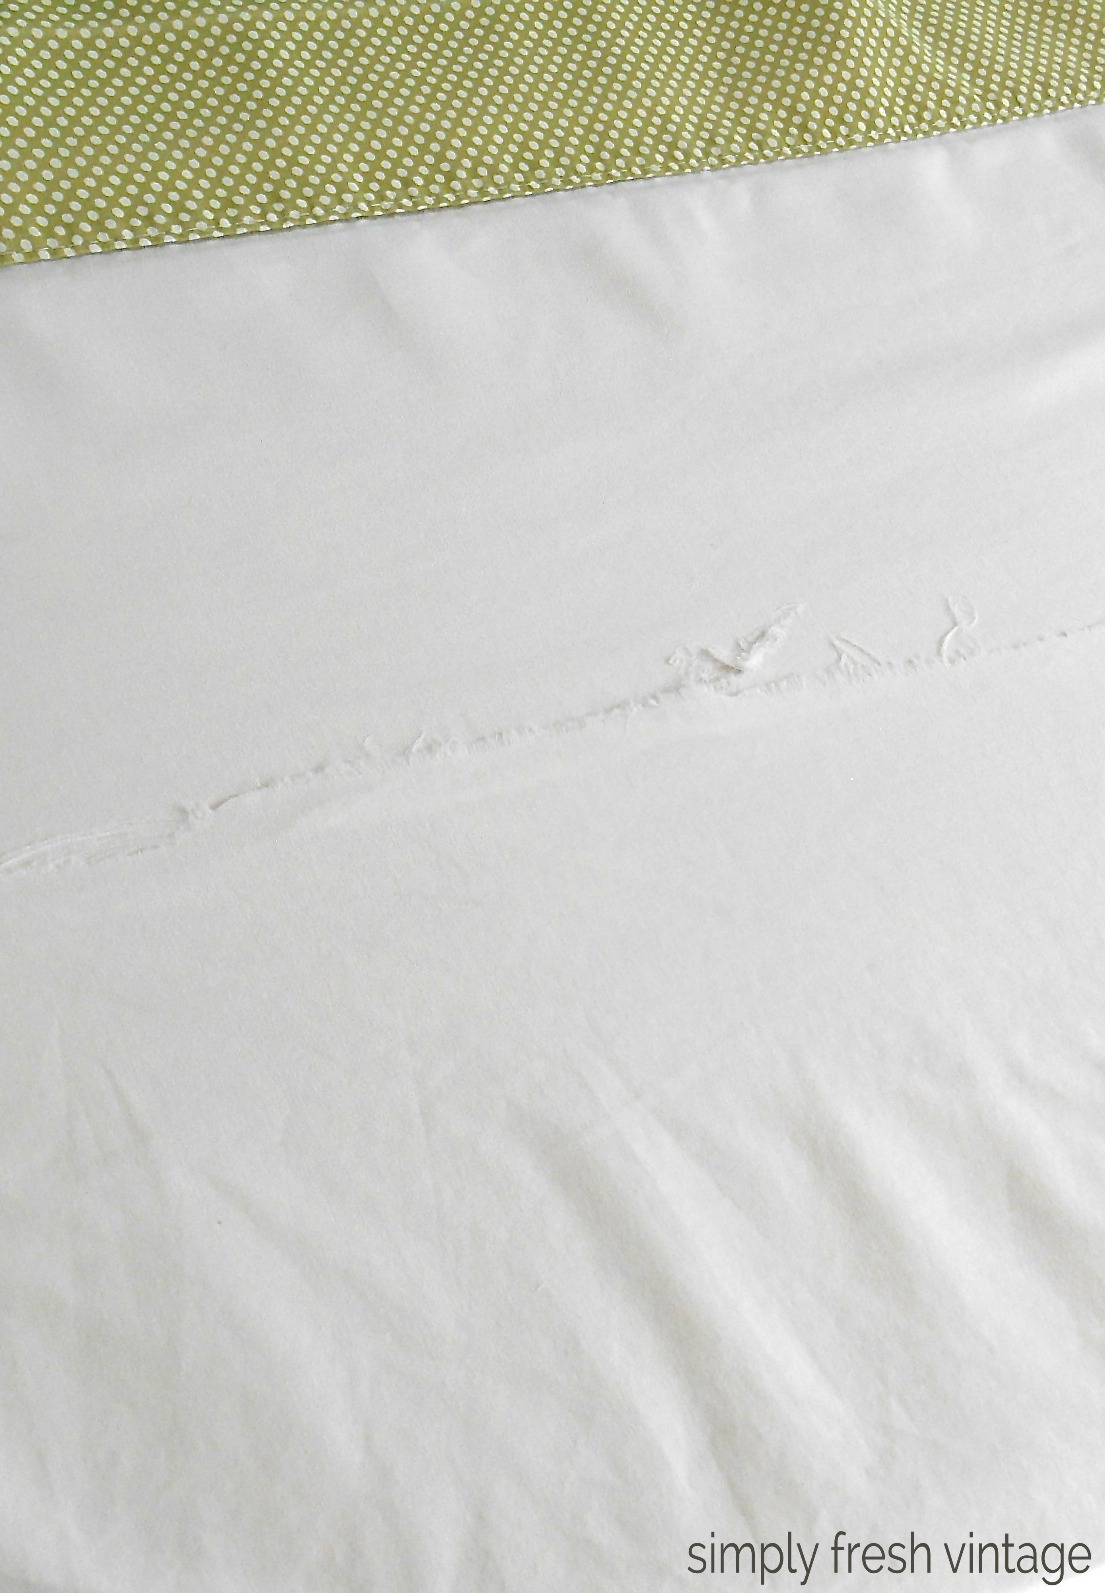
The other day my dear sweet hubby told me that the sheet was torn on his side of the bed. I thought it was just a little tear, but alas, no, it was HUGE!
My first inclination was to just throw it away, but a bit of common sense got the better of me. I paid about $40 for this Cal King sheet about three years ago and I love the FEEL of it. Can you relate? Sometimes sheets just aren’t comfortable! I could at least try to get a little more life out of it. It wouldn’t hurt to try, right?
There’s a couple of similar ways to repair a torn sheet, but I was in a rush and wanted to use materials I already had on hand.

To fix this little mishap, you’ll need the following …
- a torn sheet
- either single-sided or double-sided lightweight fusible web (interfacing)
- matching solid fabric
The first thing you want to do is lay it out on a flat surface, preferably your ironing board, and try to match up the tear as closely as possible. I started on the wrong side of the sheet, but it doesn’t matter which side you start with, since we’ll be doing the following steps to both sides.

I had single-sided fusible web on hand, so that is what I used. I cut four 4″ strips.

I laid two strips down over the tear, overlapping the pieces by about an inch. Make sure that the fusible “dots” are against the sheet or else you’ll end up with a huge mess on your iron.

Carefully press the web to the sheet, making sure that the tear is fairly centered under the web. You’ll want to make sure that the tear is pretty closed up, or you’ll iron the web to your iron board, and that will be a huge mess!

Go over it a couple of times to make sure it’s well fused.

Turn your sheet over and repeat on the other side, pressing the fusible web to the tear.
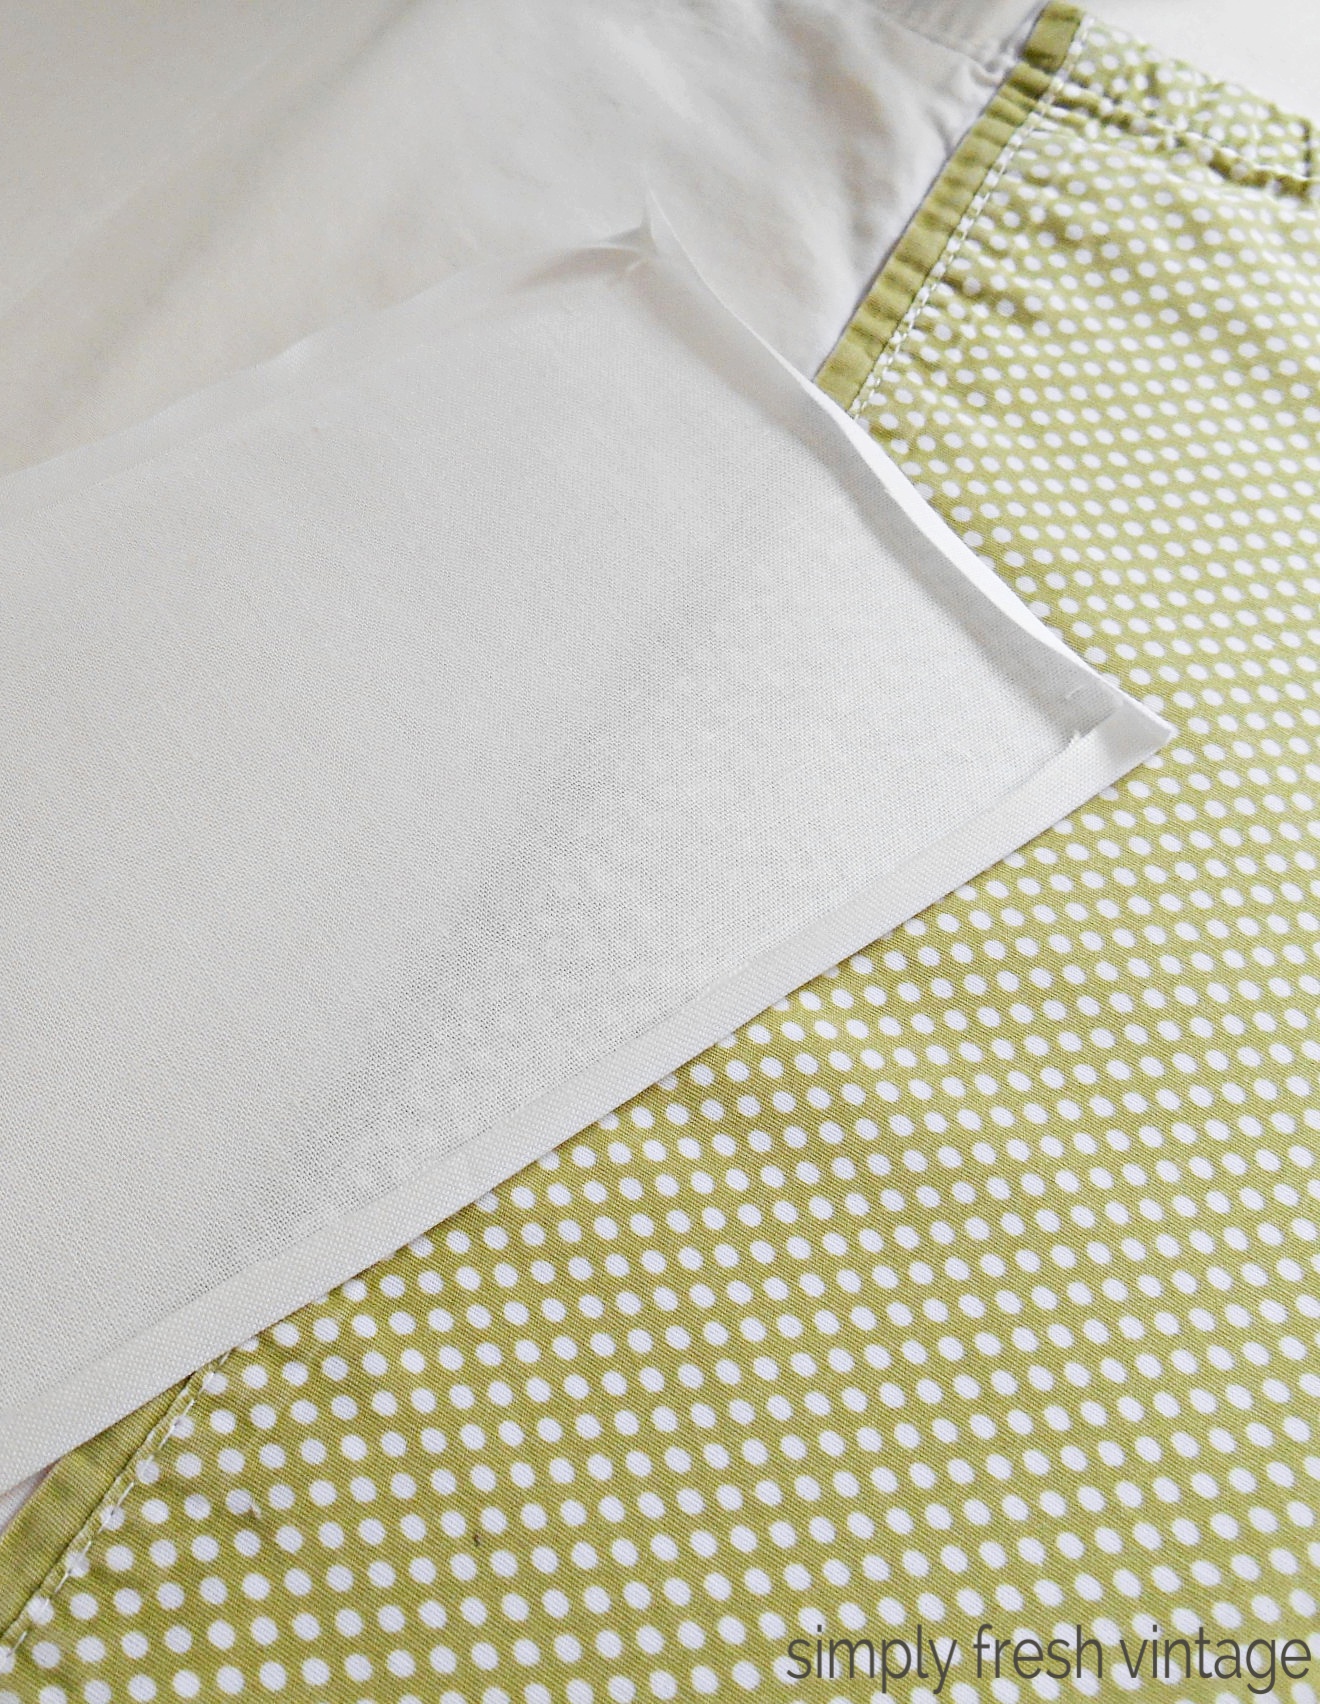
I didn’t just want to leave the fusible web bare on the sheet, so I cut some white fabric strips 4-1/2″ x width-of-fabric wide. Then I pressed the edges in about 1/4″ around.
NOTE: If you are using double-sided fusible web, then you’ll want to first attach the web to your fabric strip, then remove the paper backing and fuse to the sheet. Turn in the edges of your fabric prior to fusing … it’ll be much easier in the end.

Pin the fabric strip in place over the web. I did this on the right side of the sheet.
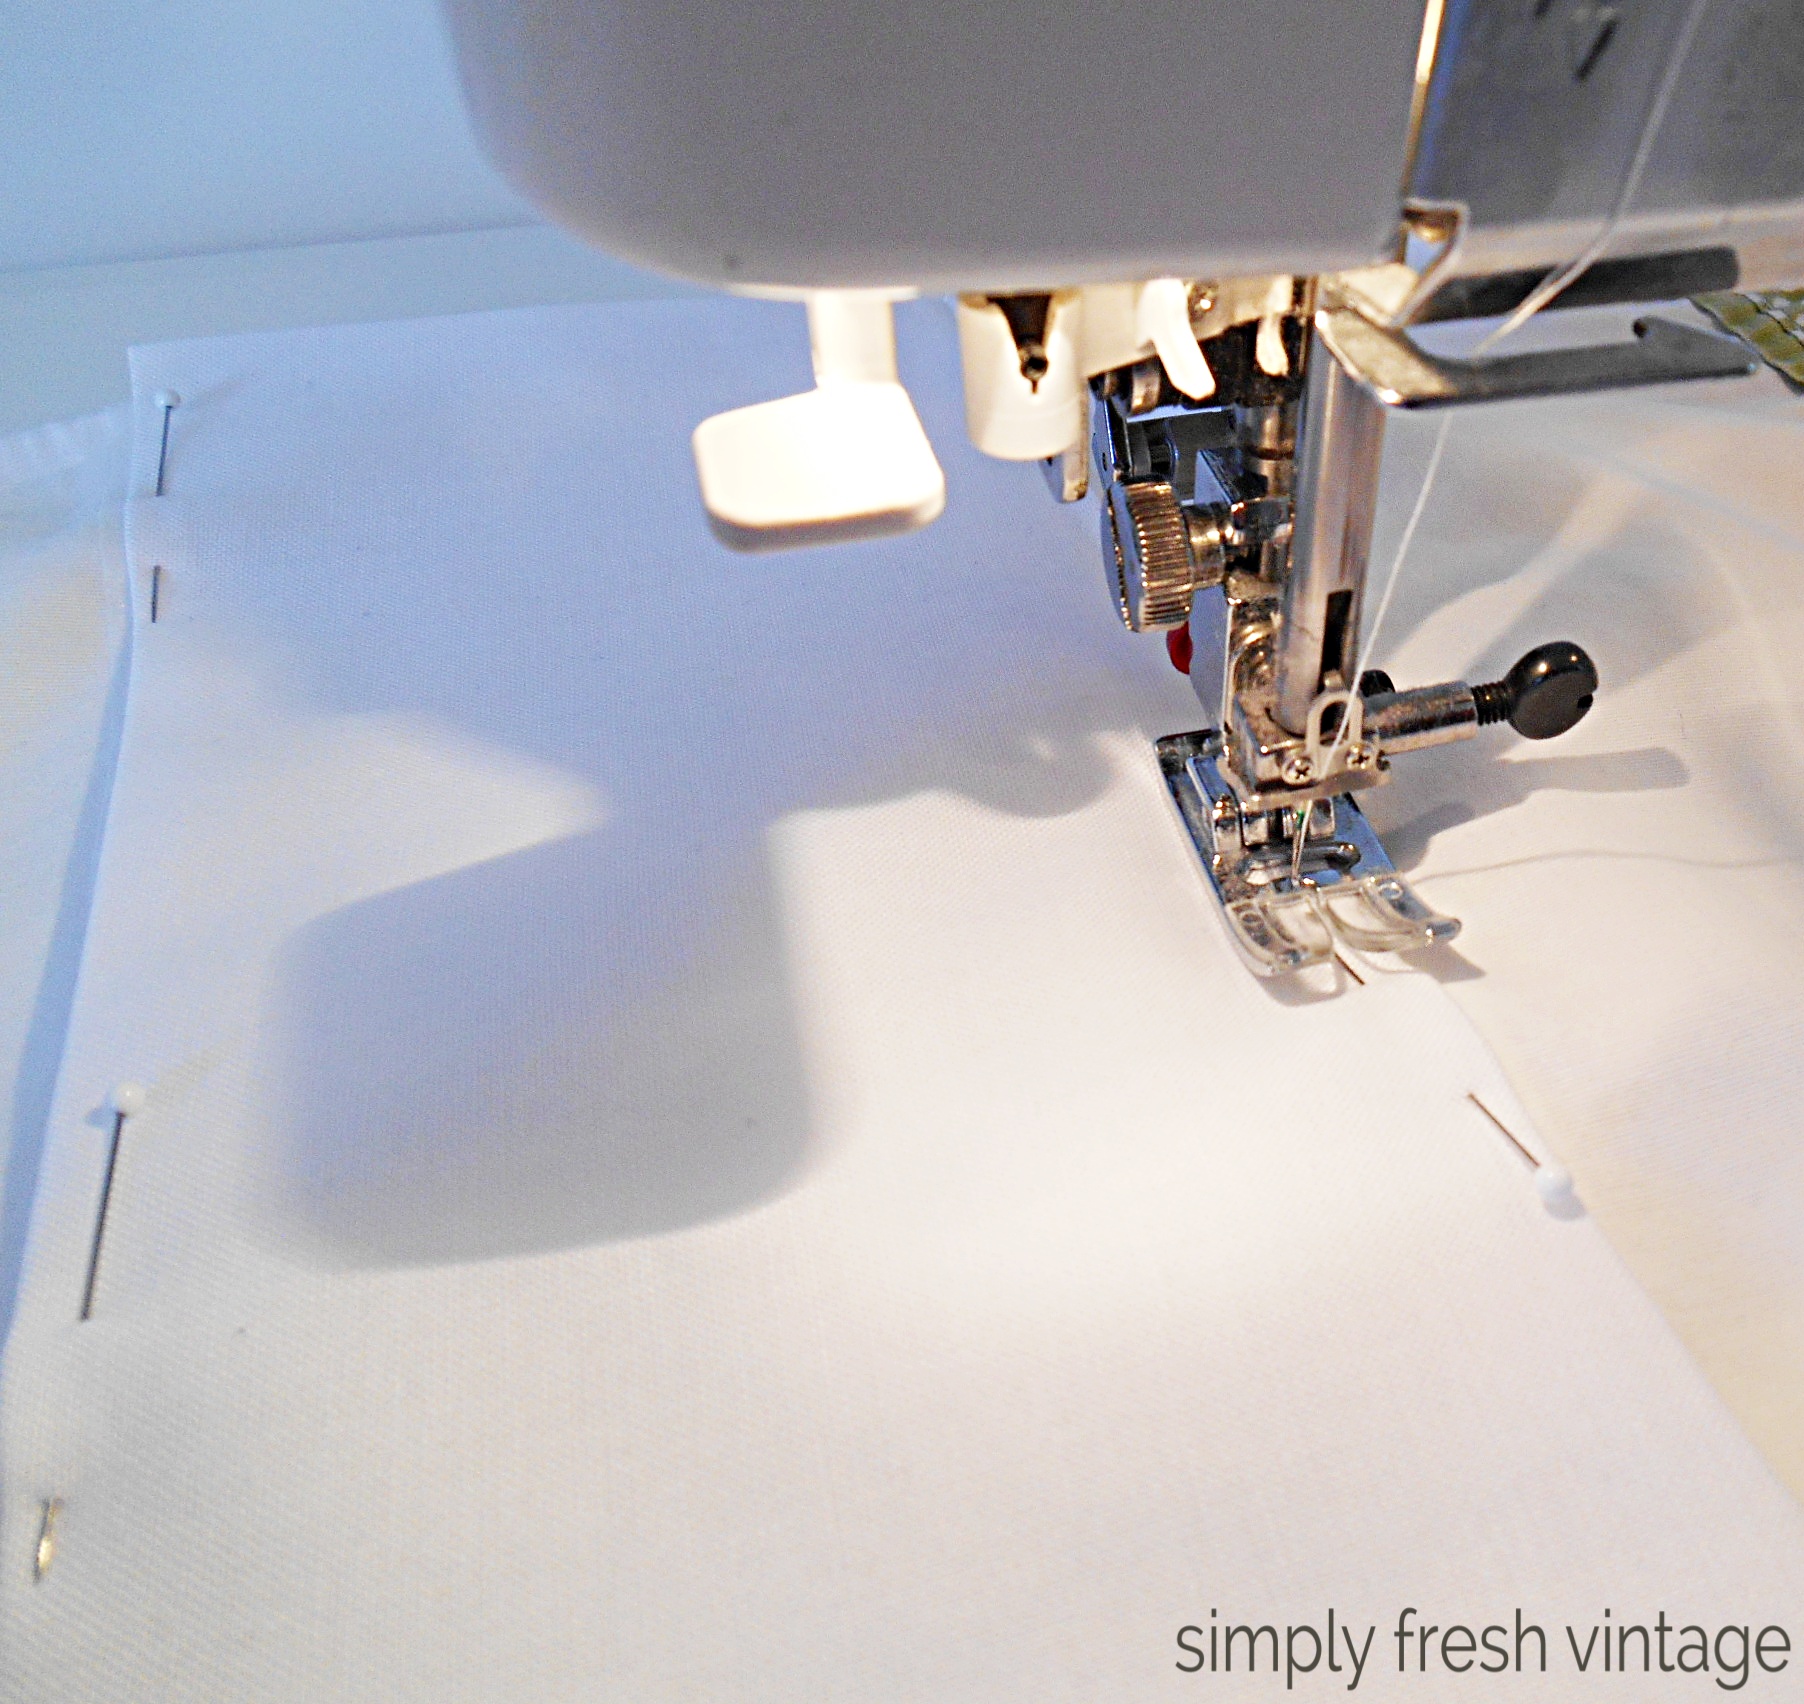
Starting on the top right corner, stitch along the edge to secure the folded edge, removing the pins as you go.

Continue sewing all the way around, stopping and pivoting at each corner.

And there you have it … an easy and quick way to repair a torn sheet.
Since I already had the sheet off the bed, I went ahead and laundered all the bedding, then gave the room a little bit of a Spring makeover.

Bet you can’t even tell where the tear was, can you?
So the next time you have a tear in your sheet, or even a pillowcase, don’t be too quick to throw it out. In about 15-20 minutes it can be as good as new! And if it’s too far gone for repair, cut it up into smaller pieces for rags or save it for a painting drop cloth!
Partying at …
Savvy Southern Style